Using PowerShell to build .Net projects
When working on .NET projects, in most IDE’s “build” and “rebuild” buttons are used very often. Generally speaking the “build” operation transforms code into binaries. In the workplace or when an individual invest in continues integration flow, build is performed automatically after each PR or commit on a dedicated server called “build server”.
The build process is performed by msbuild.exe which has default instructions for building code. msbuild.exe can accept an XML file with a specific schema, called msbuild project file, that can extend and modify these instructions. In this post I will talk about the problems we faced with msbuild project file and Jenkins and present a better way (in my opinion) to extend the build process by using PowerShell.
I presented this topic at the Code Review group meetup on 2019.11.4 at Microsoft Reactor in Tel-Aviv.
What is MSBuild Project file
Reference: microsoft docs site
MSBuild project file is a type of instructions file to build .NET projects and solutions.
It usually invokes build or rebuild (compliation and linking), and allows to run commands or tasks before and after that like running unit tests, archiving, etc…
Similar to rake (ruby make), cake (make with c#), make for C/C++, and in a way also to Dockerfile (hehe… :)).
Usual steps:

- init
- clean
- restore packages
- build
- package
MSBuild invocation examples
.proj - msbuild project file
msbuild dummy.proj -t:rebuildinvoking msbuild on the entire solution (.sln - solution file)
msbuild dummy.sln -t:rebuildinvoking msbuild on specific project (.csproj - c# project file)
msbuild dummy.csproj -t:rebuildStructure of MSBuild project file
<!--FileName: build.proj -->
<Project xmlns="http://schemas.microsoft.com/developer/msbuild/2003" DefaultTargets="Destination">

  <PropertyGroup>
    <ProjectName>My.Dummy.Service</ProjectName>
    <BuildPlatform>Any CPU</BuildPlatform>
    <Configuration>Release</Configuration>
    <Artifacts>$(MSBuildProjectDirectory)\Artifacts\</Artifacts>
    <ProjectPath>$(MSBuildProjectDirectory)\My.Dummy.Service</ProjectPath>
    <TestResultsPath>$(Artifacts)\TestResults.xml</TestResultsPath>
  </PropertyGroup>

  <Target Name="C">
    ...
    <Message Text="Target 'C' - ProjectName: $(ProjectName)" />
  </Target>

  <Target Name="B">
    <CallTarget Targets="C"/>
    ...
  </Target>

  <Target Name="A">
    ...
    <CallTarget Targets="B"/>
  </Target>

  <Target Name="Destination">
    <CallTarget Targets="A"/>
  </Target>

</Project>- Properties section - At the top - to be used throughout the build process.
In the example above:- ProjectName
- BuildPlatform
- Configuration
- Artifacts
- ProjectPath
- TestResultsPath
- Targets section - At the bottom - Targets containing tasks or steps.
In the example above:- Destination (the default task - specified at the top in the
<project>tag) - A
- B
- C
- Destination (the default task - specified at the top in the
Example Output:
Microsoft (R) Build Engine version 16.3.2+e481bbf88 for .NET Framework
Copyright (C) Microsoft Corporation. All rights reserved.

Build started 12/13/2019 6:47:19 PM.
Project "C:\Users\Granola\Example.proj" on node 1 (default targets).
Destination:
  Before calling Target 'A'
A:
  Before calling Target 'B'
B:
  Before calling Target 'C'
C:
  Property 'ProjectName' = 'My.Dummy.Service'
  Perform anything else...
B:
  After calling Target 'C'
  Property 'BuildPlatform' = 'Any CPU'
A:
  After calling Target 'B'
Destination:
  After calling Target 'A'
  Perform anything else...
Done Building Project "C:\Users\Granola\Example.proj" (default targets).

Build succeeded.
    0 Warning(s)
    0 Error(s)
The problems we faced
MSBuild Project file is hard to maintain.
How its maintained today:Developers resort to copy-pasting the same build file from other projects without understanfing it, and hoping that it will still work in the new project. When it doesn’t they call to operations: “… help! my build failed!…”
- Copy-Paste
- Google and Stack Overflow
- Documentation in the microsoft docs site, and although the schema can be extended it’s rarely done.
- Example of “hacked” build file: MSBuild Project file. Which connects us to the next pain point.
This is the “hacked” part:
<Exec Command='"%programfiles(x86)%\Microsoft Visual Studio\2019\Enterprise\Common7\IDE\devenv.com" "@(SolutionFile)" /Build "Release|x64"' />(Literally invoking msbuild of VS 2019 enterprise edition by its full path from inside the build project file - which was invoked by earlier version of msbuild installed on the build server)
- Invoking specific MSBuild version in Jenkins required that we specify a name and a path to each executable. While the latest Visual Studio enterprise edition will suffice, that is not always the case. It requires the developers to know which msbuild version their project require and pass it as parameter.
- Our build flow is strict but the developers have freedom to run some procedures during, via the build file.
- As long as they provide at the end artifacts we can use for deployments.
This is how we call msbuild from Jenkins:
pipeline {
    parameters {
        string (name: BUILD_FILE)
        string (name: MSBUILD_VERSION)
    }
    stages {
        stage ('pull code'){
            // git
            // mercurial
            ...
        }
        stage ('build'){
            steps{
                script{
                    ...
                    // if cake
                    // if psake
                    // if msbuild (jenkins general tools)
                    else if(params.BUILD_FILE =~ /(?i).+\.proj$/){
                        if(params.MSBUILD_VERSION == 'v14'){
                            ...
                        }
                        else if(params.MSBUILD_VERSION == 'v15'){
                            ...
                        }
                        else if(params.MSBUILD_VERSION == 'v15ent'){
                            ...
                        }
                        else if(params.MSBUILD_VERSION == 'v16')
                            bat label: 'invoke msbuild v16 (2019 professional)', returnStdout: true, script: "\"${tool 'MSBuild-V16'}\" ${params.BUILD_FILE}"
                        }else{ // latest
                            ...
                        }
                    }else{
                        ...
                    }
                } // script
            } // steps
        } // stage ('build')
        stage ('publish artifacts'){
            // nexus
            // artifactory
            ...
        }
    }
}
To use the keyword
tooland call different MSBuild executables in Jenkins pipeline they need to be specified in the global tool configuration window: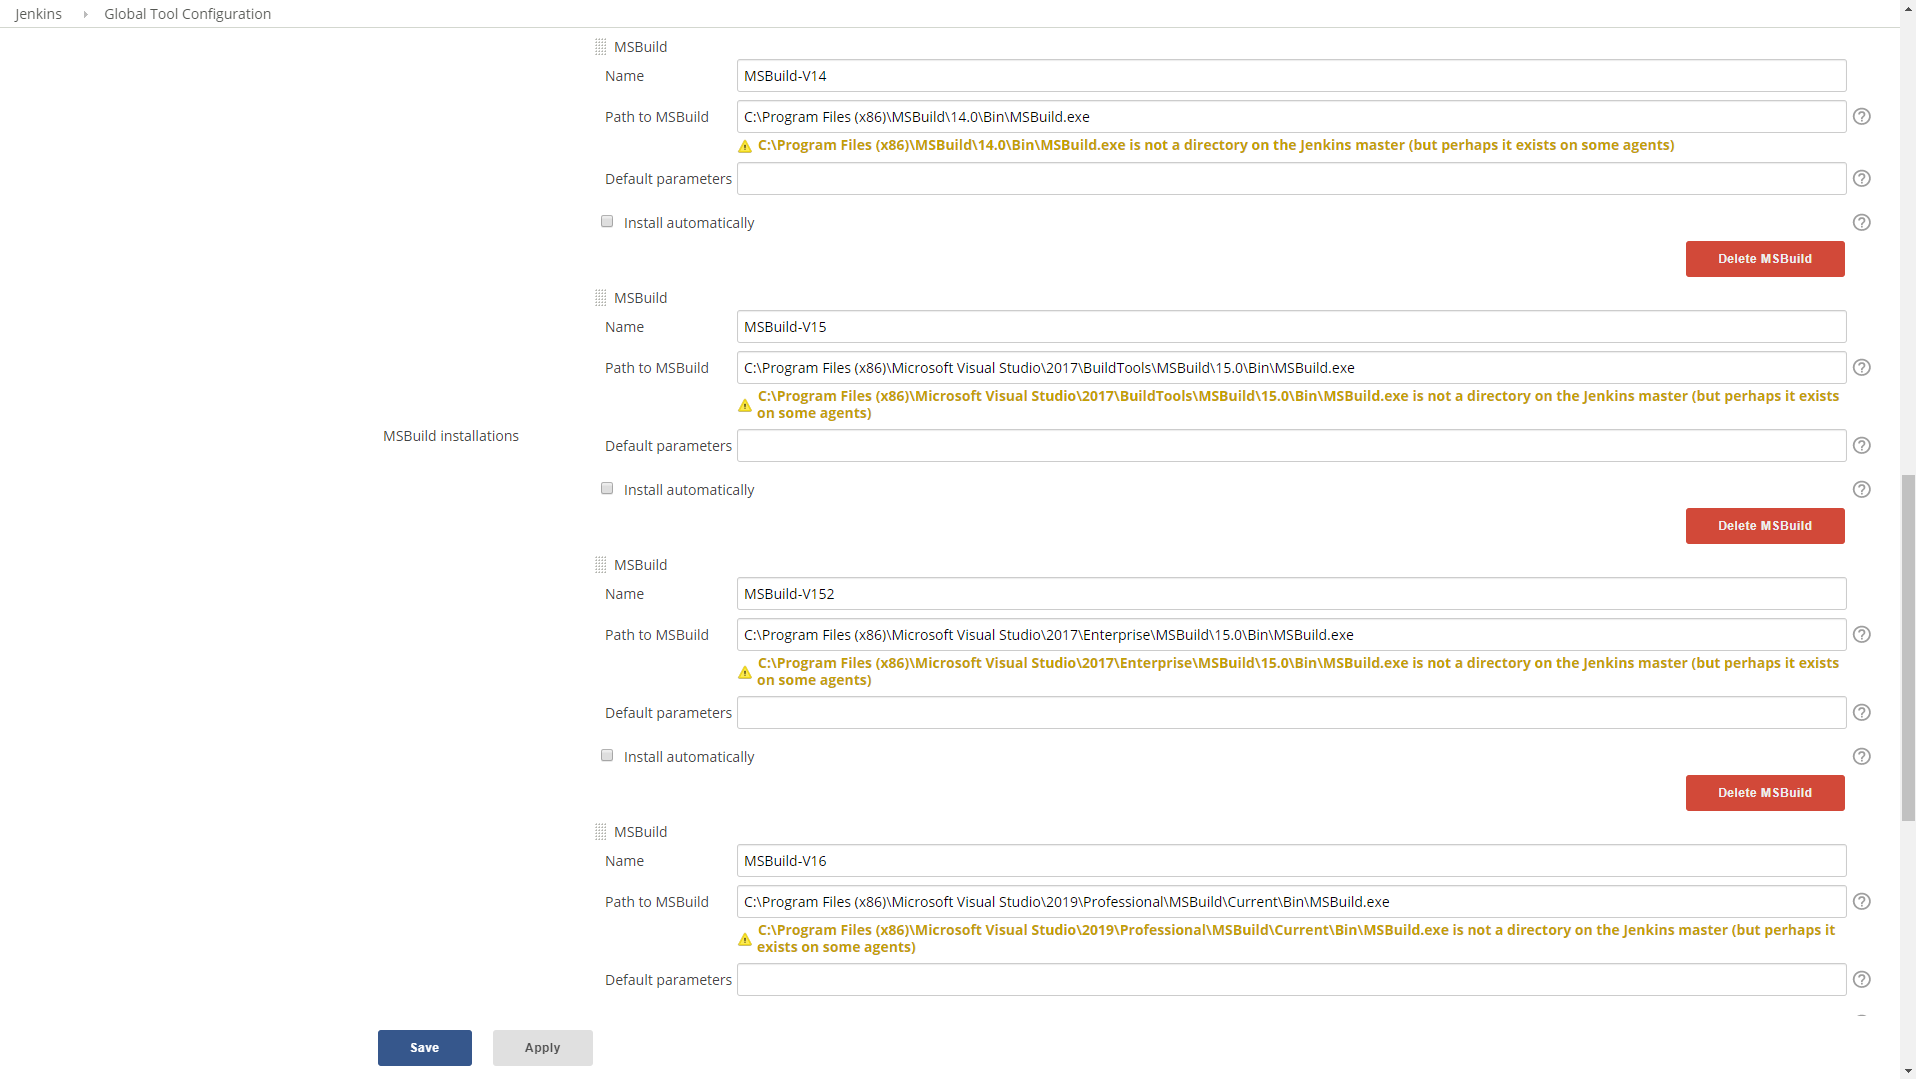
The shift to scripted build files
The shift to scripting happened thanks to dotnet core and dotnet cli.
When we started moving to dotnet core we encountered some problems compiling it with msbuild project files, We liked the ease of use of dotnet cli, and also Microsoft suggested this as a valid option.
So it was an excuse to try building projects with scripts.
Developers may need to learn new scripting language which is useful and probably easier as its closer a programming language they know (e.g. C# or F#), unlike MSBuild XML which is unique to itself.
Scripting options
We added 2 scripting tools as options to our build pipeline in Jenkins
- Cake - build automation tool build based on C# scripting.
- Psake - build autiomation tool based on Powershell.
...
// based on the file extension match the build method: .cake -> cake; .ps1 -> psake; .proj -> msbuild project
if(params.BUILD_FILE ==~ /(?i).+\.cake$/){
    // Cake (https://github.com/cake-build/resources)
    powershell label: 'invoke cake', script: "dotnet-build-resources/build.ps1 -Script '${params.BUILD_FILE}'"
}
else if(params.BUILD_FILE ==~ /(?i).+\.ps1$/){
    // PSake (https://github.com/psake/psake)
    powershell label: 'invoke psake', script: "Invoke-Psake -buildfile '${params.BUILD_FILE}'; exit [int]!\$psake.build_success"
}
...
Starting with Psake
Psake - Pronounced SAKE` (P is silent)
Domain Specific Language (DSL) built with PowerShell.
Pros: PowerShell is a .Net language so you have access to the whole .Net framework!
Pros: PowerShell is also Cross-Platform.
Install once on the build server and on the developer workstation via this powershell command
Install-Module PsakeIt is important that the developer can run the build command the same way its being invoked on the build server.
Psake script file Structure
As I mentioned Psake is a DSL (Domain Specific Language) and so it has a unique structure. A simple example:
properties{
  $solution = dummy.sln
}

task default -depends 'Test'

task Test -depends 'Build' {
  dotnet test ...
  # run other building tool?
}

task Build -depends 'Clean' {
  dotnet publish $solution
}

task Clean {
  dotnet clean $solution
}
The structure is similar to msbuild project build file - properties at the top, tasks (instead of targets) afterwords.
In this example there are dependencies specified to most tasks, and the default task is ‘test’. The dependencies are:
- ‘test’ depends on ‘build’ (which means: ‘test’ will execute if ‘build’ complete successfully).
- ‘build’ depends on ‘clean’.
The order of execution, therefore, will be: ‘clean’ -> ‘build’ -> ‘test’
Examples of how to run the psake build script:
# Run default
Invoke-Psake build.ps1

# Run specific task
invoke-psake build.ps1 -tasklist clean
More complete example of psake build file for building dotnet core project: dummybuild.psake.ps1
PSake support for .NET Framework (not only dotnet core)
Install PowerShell module VSSetup. This module is an optional dependency of Psake that enables to call msbuild executable in PSake (by using the functions msbuild and Framework).
Install-Module VSSetup -Scope CurrentUserCommand to get all the installed versions of Visual Studio and Build Tools:
Get-VSSetupInstance
Inside the Psake script select the required Framework, specifying it at the top will set the msbuild function to the matching msbuild version. Then call msbuild on a .sln or .csproj file.
Framework 4.6.1

Properties {
    $Workspace = $PSScriptRoot
    $PesterTests = Join-Path $Workspace 'calccli.pester.tests'
}

task default -depends test

task test -depends build {
    $TestResults = invoke-pester $PesterTests -OutputFormat NUnitXml -OutputFile 'TestResult.xml' -PassThru
    if($TestResults.FailedCount -gt 0){
        throw "$($TestResults.FailedCount) failed tests"
    }
}

task build -depends clean {
    msbuild .\calccli.sln /t:build
}

task clean {
    msbuild .\calccli.sln /t:clean
}
DEMO
Sample .Net Framework project, contains both psake build script file and msbuild project file (.NET Framework):